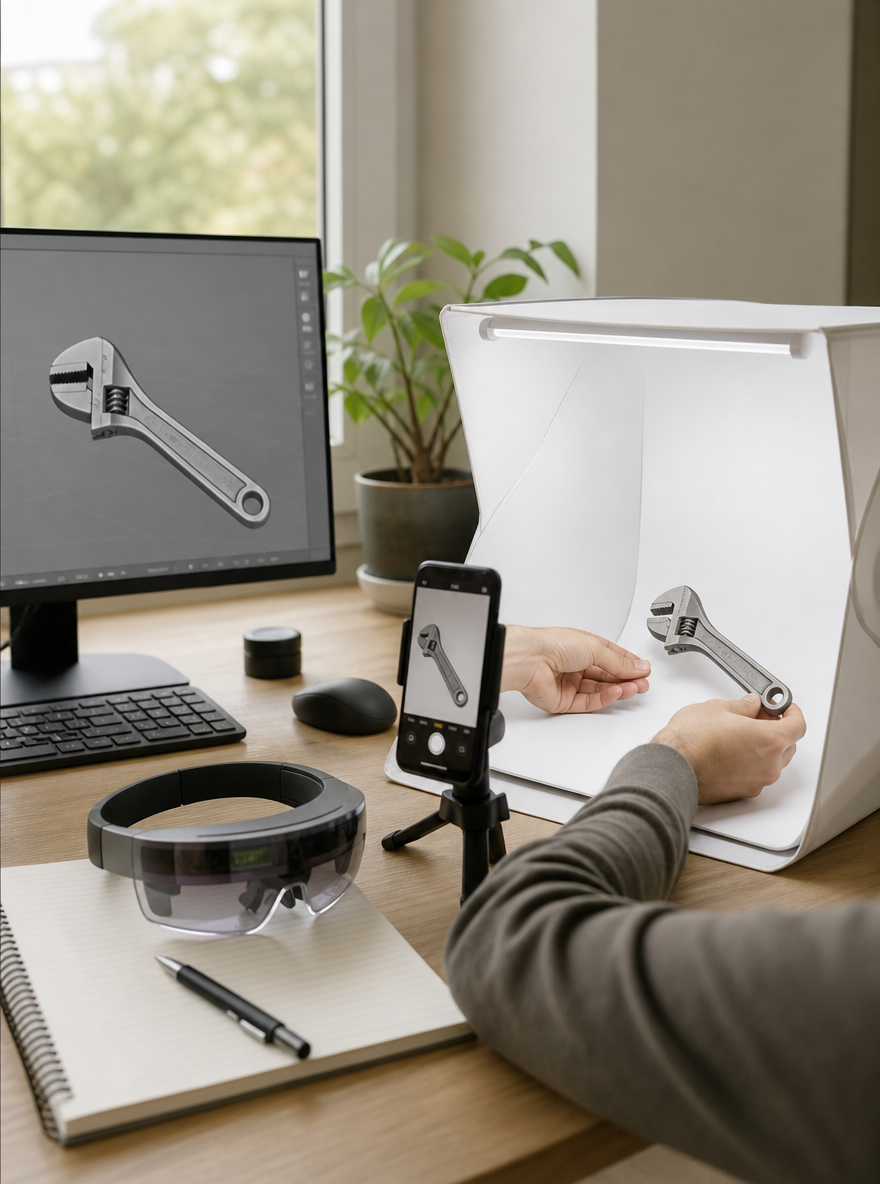
Image to 3D Model Generator for Production Pipelines
Upload a reference photo and export a textured mesh ready for your engine, AR/VR viewer, or product design pipeline in seconds.
From a Reference Photo to a Game-Ready Mesh
Upload a reference photo and ModelGenerator's image to 3D model generator reconstructs the geometry and PBR materials from that single source — no 3D scanning rig or manual retopology required. Export GLB straight into your pipeline.
Pick Mesh Density for Your Pipeline Stage
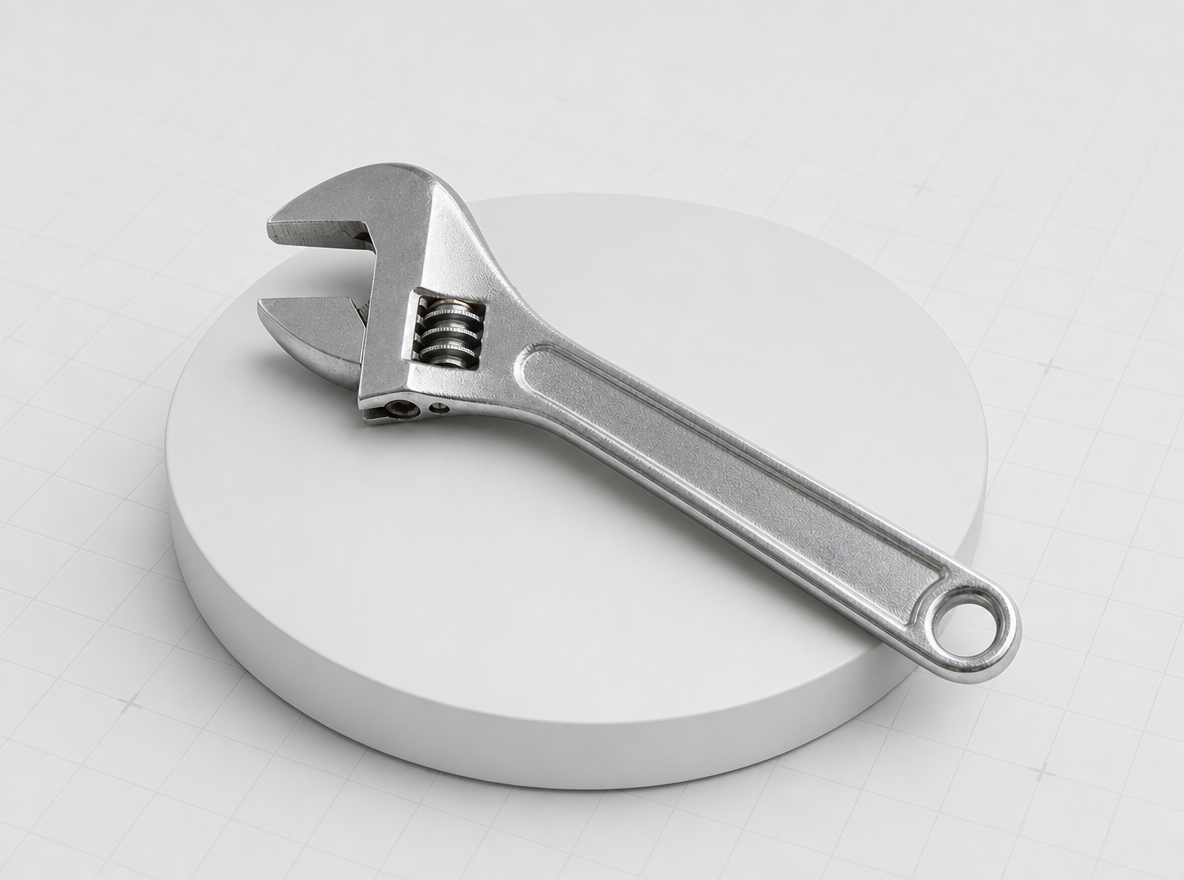
Draft, Standard, Pro, and Ultra map to how far downstream the reconstructed asset is heading — Draft for a same-day blockout, Ultra for a hero asset headed to a close-up render. Switch density any time without re-uploading your photo.
Textures Carry Over From Your Reference Photo
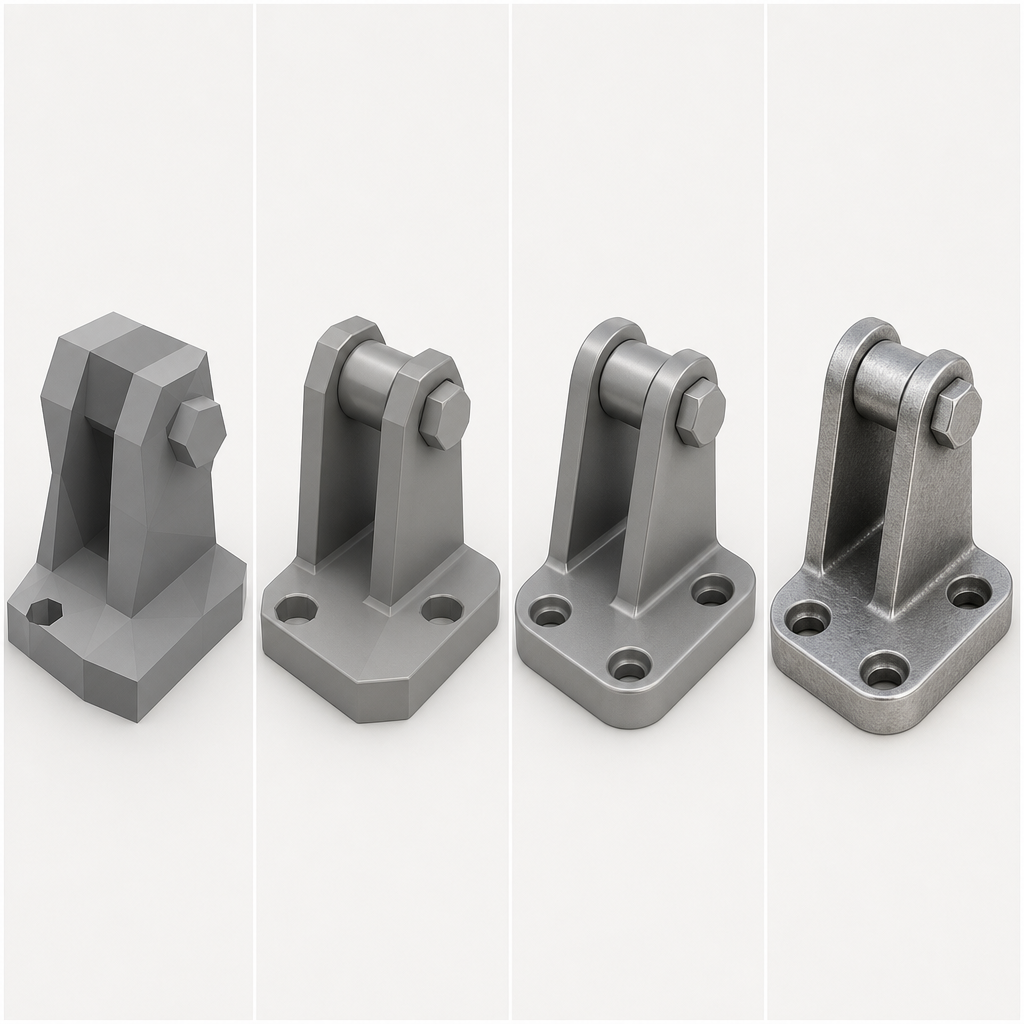
There's no separate texturing pass — ModelGenerator's image to 3D pipeline carries color and material detail over from the photo you upload, straight into a PBR-ready export.
What Makes a Good Reference Photo
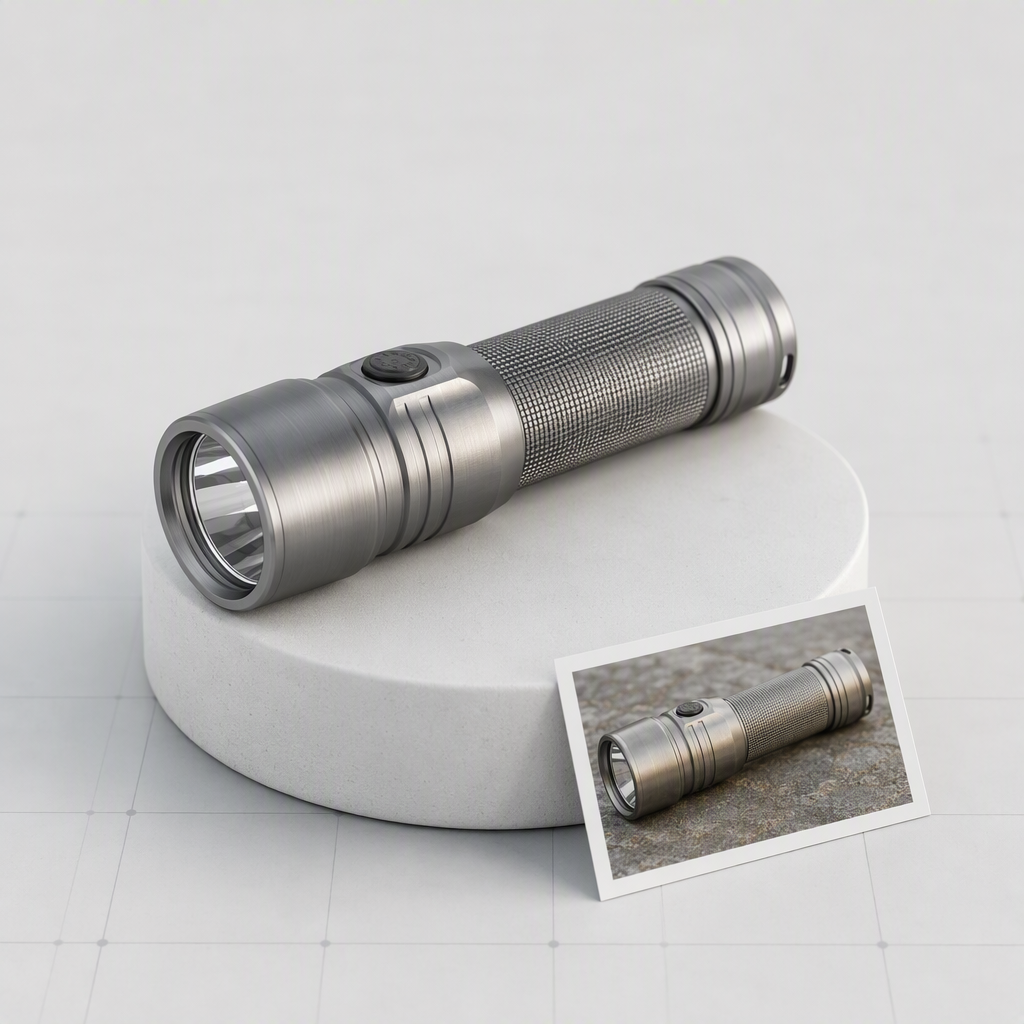
ModelGenerator accepts PNG, JPG, or WEBP photos — the sharper and better-lit the reference, the more detail carries into the reconstructed mesh, which matters most when the asset is heading into a close-up shot.
From Photo to Export in Three Steps
The same three steps whether you're blocking out a prop or checking product proportions.
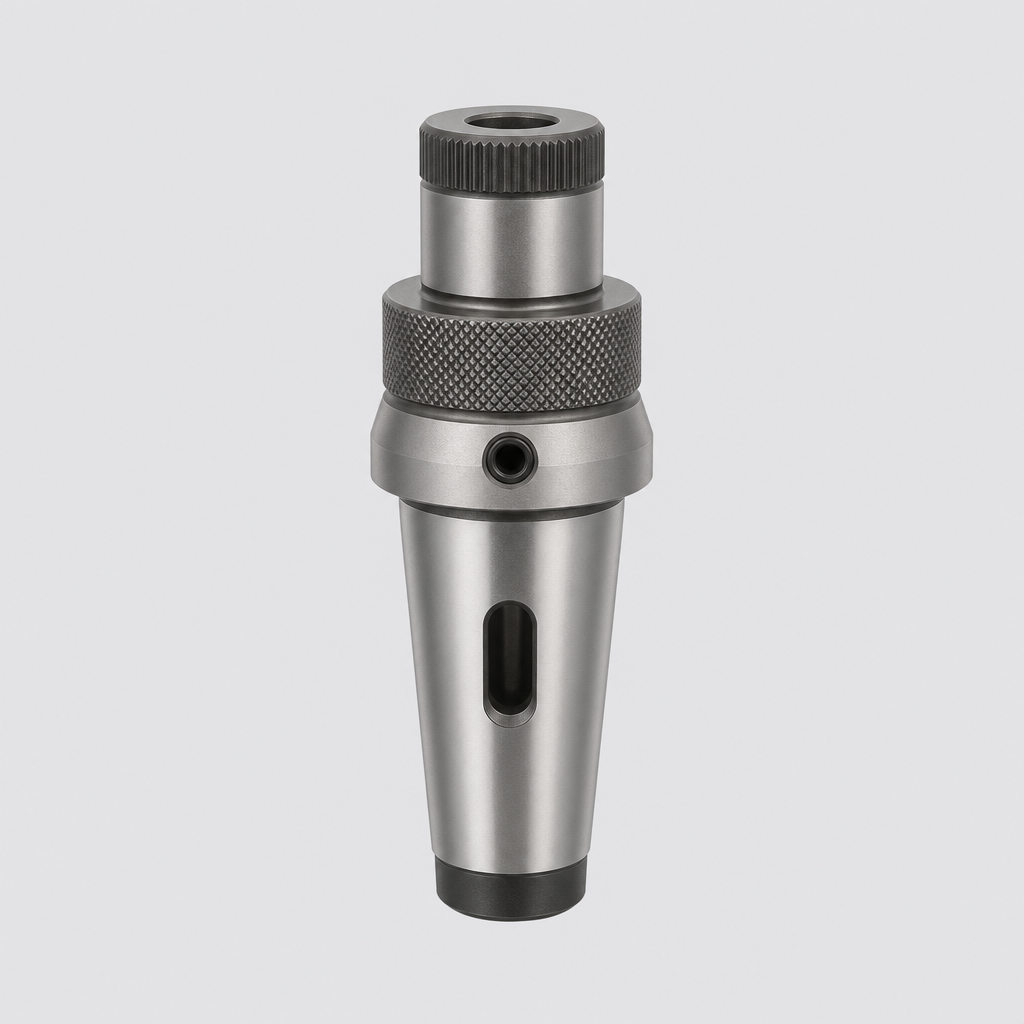
Upload your photo
PNG, JPG, or WEBP — a clear, well-lit shot of the object works best.
Pick a fidelity level
Draft, Standard, Pro, or Ultra, depending on where the asset is headed.
Export GLB
Drop the finished mesh into Unity, Unreal Engine, Blender, or any glTF-compatible pipeline.
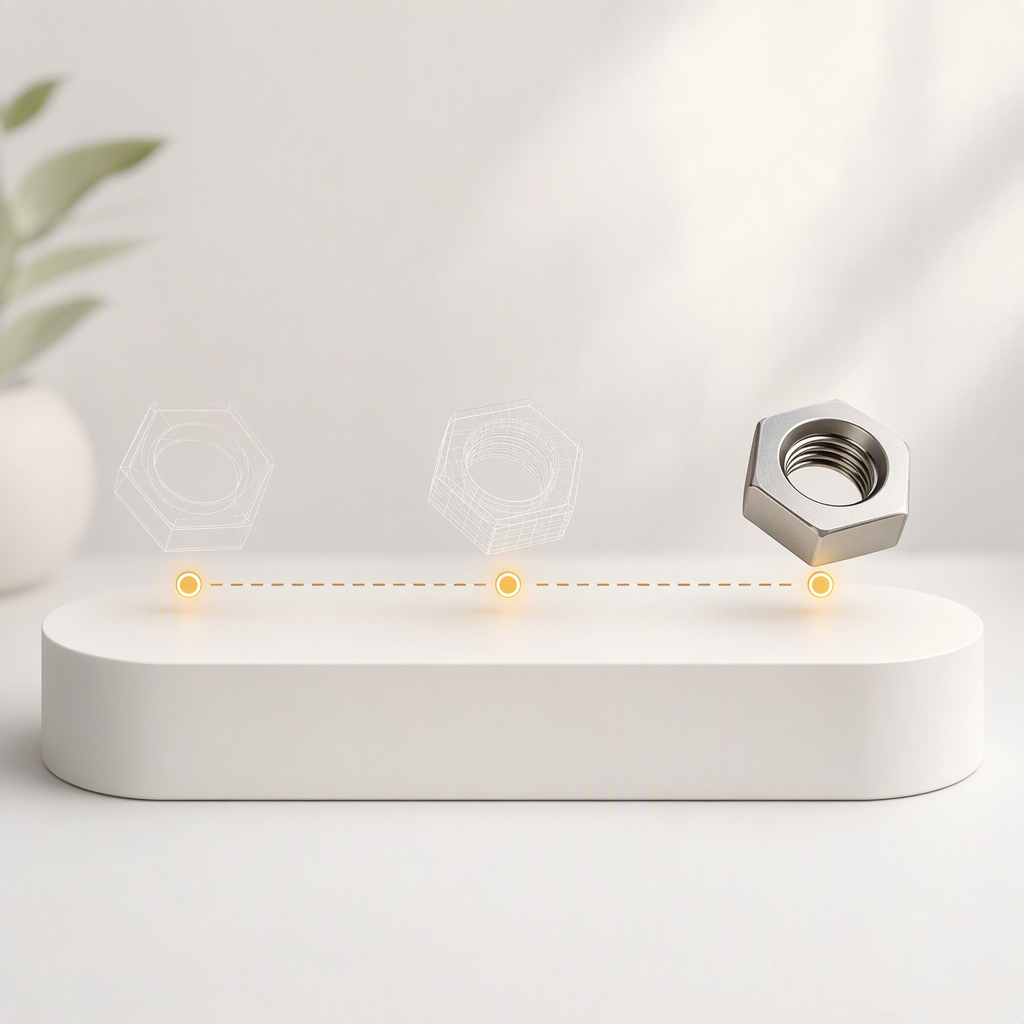
Image to 3D vs. Manual 3D Scanning
ModelGenerator doesn't need a scanning rig or turntable setup — a single reference photo is enough for a first-pass mesh you can bring straight into your pipeline.
ModelGenerator image to 3D | Manual 3D scanning | |
|---|---|---|
| Equipment required | A single photo | Scanning rig or turntable |
| Time to a first usable mesh | 10–120 seconds | Hours of capture + cleanup |
| Texturing | PBR materials from your photo | Separate photogrammetry bake |
| Starting point | One reference photo | Multiple scan passes |
| Best for | Blockouts & quick iteration | Exact physical-twin reproductions |
| Output | GLB + preview image | Varies by scanning software |
Who's Reconstructing 3D Models From Photos
An image to 3D pipeline earns its place when it saves real production time — here's where that shows up. The same pipeline, four different reasons to reach for it.
Product & ecommerce teams
Turn a product photo into a 3D asset for AR previews or engine-ready catalogs, without waiting on a dedicated 3D artist.
Game & concept artists
Convert reference art or a photographed maquette into a starting mesh instead of blocking out geometry by hand.
AR/VR developers
Reconstruct a real object into a lightweight, textured asset for a prototype AR or VR scene.
Makers & indie developers
Photograph a part or prop and get a mesh to inspect before it goes into a build — no 3D scanning hardware required.